
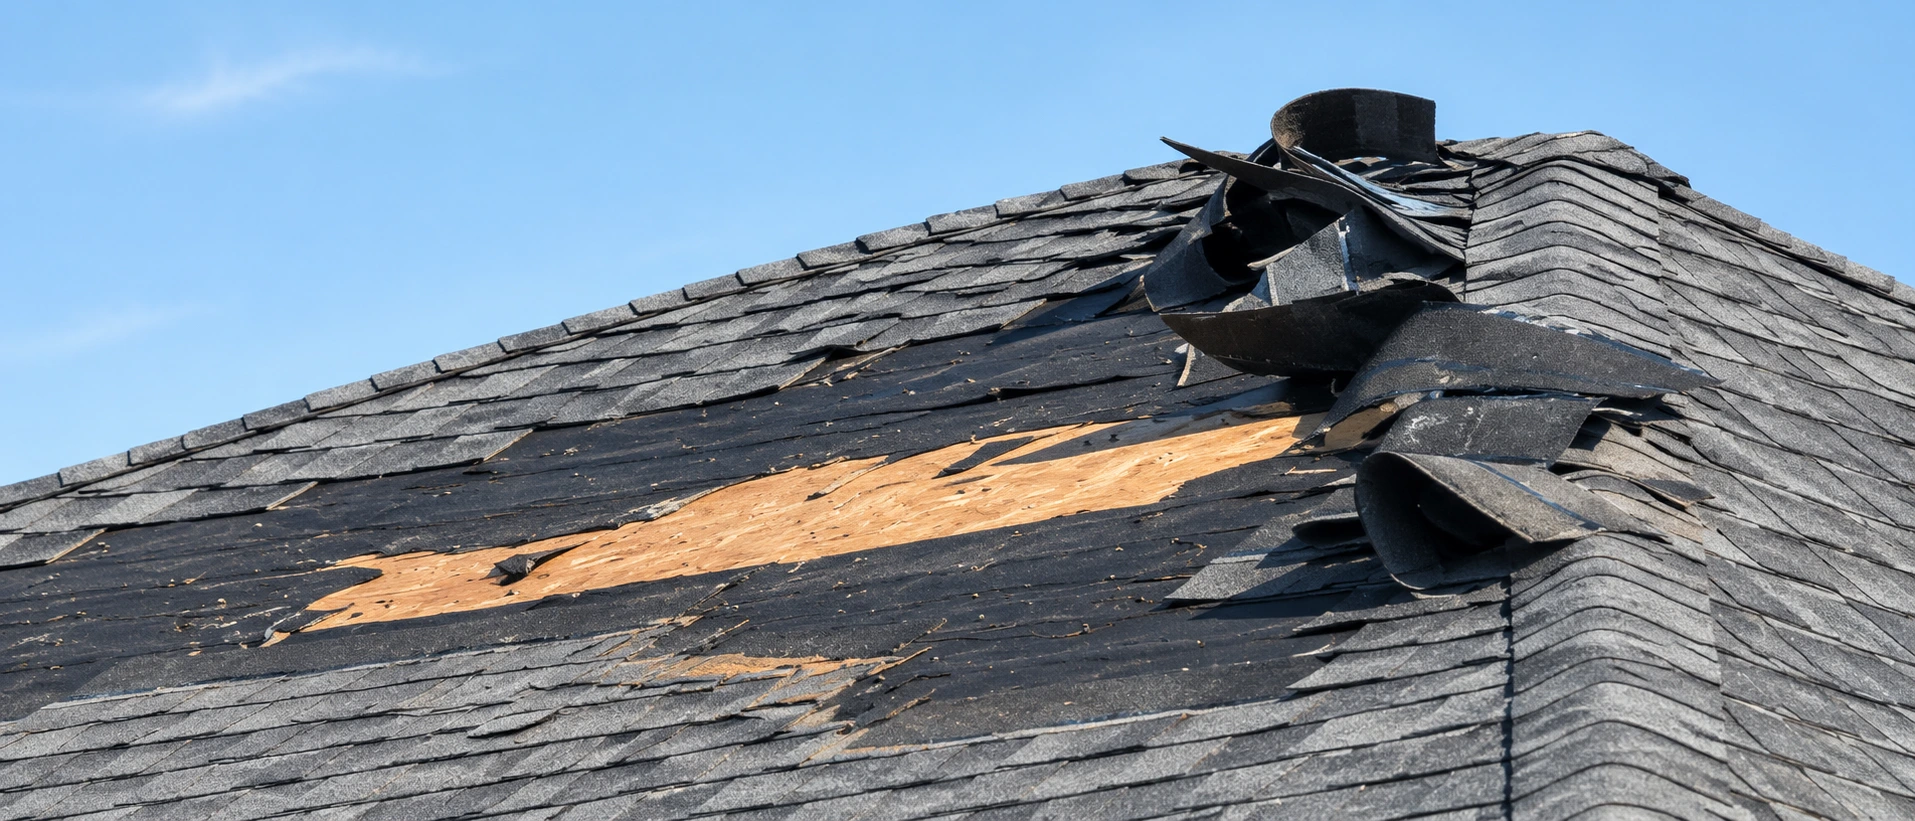
Sydney storms arrive fast and leave a mess behind. Lifted tiles, torn flashing, a ridge cap in the garden, and a ceiling stain that shows up two days later. If your home policy covers storm damage, the repair may cost you little more than your excess. Getting there depends almost entirely on how you handle the first week. Here is how a storm damage roof insurance claim usually runs in NSW, in the order the steps actually happen.
Storm Damage to Your Roof?
Get your roof made safe and the damage photographed before you lodge your claim.
Step 1: Make the roof safe before anything else
Before anyone thinks about paperwork, the roof needs to stop letting water in. Most NSW policies include emergency make safe work, and insurers expect you to take reasonable steps to limit further damage rather than waiting for written approval. Call your insurer’s 24 hour claims line, describe what has happened, and ask whether they are sending their own make safe crew or whether you can engage a licensed roofer yourself. Keep the invoice either way.
What you should not do is climb up for a look. Wet tiles and lifted sheets are how people end up in hospital, and an injury does nothing for your claim.
Step 2: Photograph everything before it is touched
Photos taken before the tarp goes on carry more weight than anything you write afterwards. Shoot wide from the ground so the whole roof plane is visible, then close in on the specific damage: cracked tiles, dented Colorbond, torn valley flashing, a gutter pulled off its brackets. Photograph the inside as well, including ceiling stains, wet insulation and damaged contents. If your street copped it too, a shot of a neighbouring roof helps confirm a genuine weather event.
Note the date and rough time of the storm while it is fresh. Claims that stall are almost always claims with thin evidence from day one.
Step 3: Lodge the claim quickly
Ring your insurer as soon as the property is safe, then follow up in writing through their portal or by email so there is a dated record. Have your policy number, the storm date and your photos ready. Ask for a claim reference number and quote it on every message from that point on.
📖 People also read about:
Most policies ask you to notify as soon as reasonably possible. Long gaps between the storm and the claim give an insurer room to argue the damage came from age rather than weather. Keep one folder with every email, invoice and phone note in it.
Step 4: Get your own roofer's report
The insurer will send an assessor, but you are entitled to an independent report from a licensed roofer, and it is the single document that does the most work for you. A useful report names the damage precisely, explains what caused it, and separates storm damage from pre-existing wear so there is no argument later. Photos should be labelled and dated. If you also need storm damage roof repairs organised at the same time, ask your roofer to quote the scope in the format the insurer uses, because a quote that lines up with the assessor’s items is far quicker to approve.
Tomkat Roofing has been preparing these reports across Sydney for more than twenty years. The ones approved without a fight are always the specific ones.
Step 5: The assessor's visit
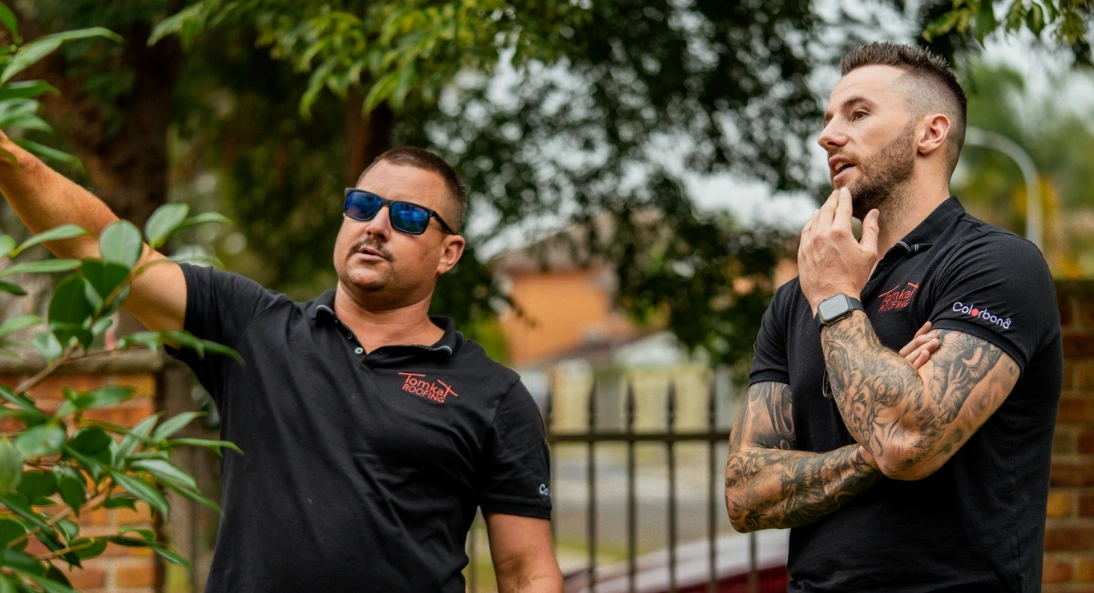
The insurer’s assessor or building inspector usually attends within a week or two of lodgement. Be home if you can. Walk them through what you found, hand over your report and photo set, and write down their name and the date of the visit.
📖 People also read about:
Assessors move quickly and cover a lot of properties after a large storm, so anything you point out directly is one less thing left open to interpretation. If your roofer can be on site at the same time, take that option. Two trades discussing flashing and bedding in the same language tends to settle questions on the spot.
Step 6: Check the scope of works before repairs start
Once the claim is accepted you receive a scope of works, the list of repairs the insurer has agreed to pay for. Read it against your roofer’s report line by line. Missing sarking, ridge repointing, or a valley signed off as cleaned rather than replaced are common gaps, and they are much easier to add now than after the scaffold comes down.
💡 Need help?
We offer professional storm damage roof repair sydney to help you achieve your goals.
You can generally choose your own licensed roofer instead of the insurer’s panel builder, provided the price is reasonable and the work meets the approved scope.
What storm cover usually includes in NSW
Standard home policies respond to sudden damage from a storm event: wind, hail, driving rain and falling branches. What they typically exclude is deterioration, so rusted sheets, perished pointing, blocked gutters and tiles that were already cracked sit outside the cover.
This is where roofs with no maintenance history run into trouble. An insurer looking at twenty years of neglect will often put the failure down to condition rather than weather. Keeping receipts for inspections and past repairs is the cheapest protection you can add on top of the policy itself.
If the claim is declined or underpaid
A knockback is not the end of it. Ask for the decision in writing, along with the reasoning and any report the insurer relied on. If you disagree, lodge a complaint through the insurer’s internal dispute resolution process and attach your roofer’s report and photo evidence. If that goes nowhere, the Australian Financial Complaints Authority handles consumer disputes at no cost. Most reversals come down to better evidence rather than a better argument.
Book a storm damage roof inspection

If a storm has been through your suburb, get the roof checked before the ceiling tells you about it. Tomkat Roofing provides detailed inspection reports with photo evidence for insurance claims right across Sydney, and can carry out the repairs once your claim is approved. Get in touch with our team to book an inspection.
Back Your Claim With a Roof Report
Our licensed Sydney roofers will inspect the damage and give you a written report to send to your insurer.