Sydney storms can roll through fast and leave a lot of damage behind. Whether it’s a summer hailstorm hammering the Hills District or a winter east coast low battering the Northern Beaches, your roof takes the full force of it. And once the weather clears, most homeowners are left wondering where to start.
If you’re planning an insurance claim, what you photograph in the hours and days after a storm can genuinely affect the outcome. This post-storm roof inspection checklist is designed to help Sydney homeowners document the right things, in the right order, before calling their insurer.
Stay Safe: Keep Your Feet on the Ground
Never climb onto your roof to inspect storm damage. Wet tiles, damaged rafters, and displaced panels are serious fall hazards. Conduct your entire inspection from the ground or from inside the home. If you need a closer look, binoculars from a safe vantage point work well. Safety always comes before documentation.
1. Wide-Angle Overview Shots
Start by photographing your roofline from all four corners of your property. These wide shots give your insurer a clear view of your roof’s full condition and layout. Make sure your photos are date and time stamped, as this helps confirm the damage occurred during the storm event rather than before it.
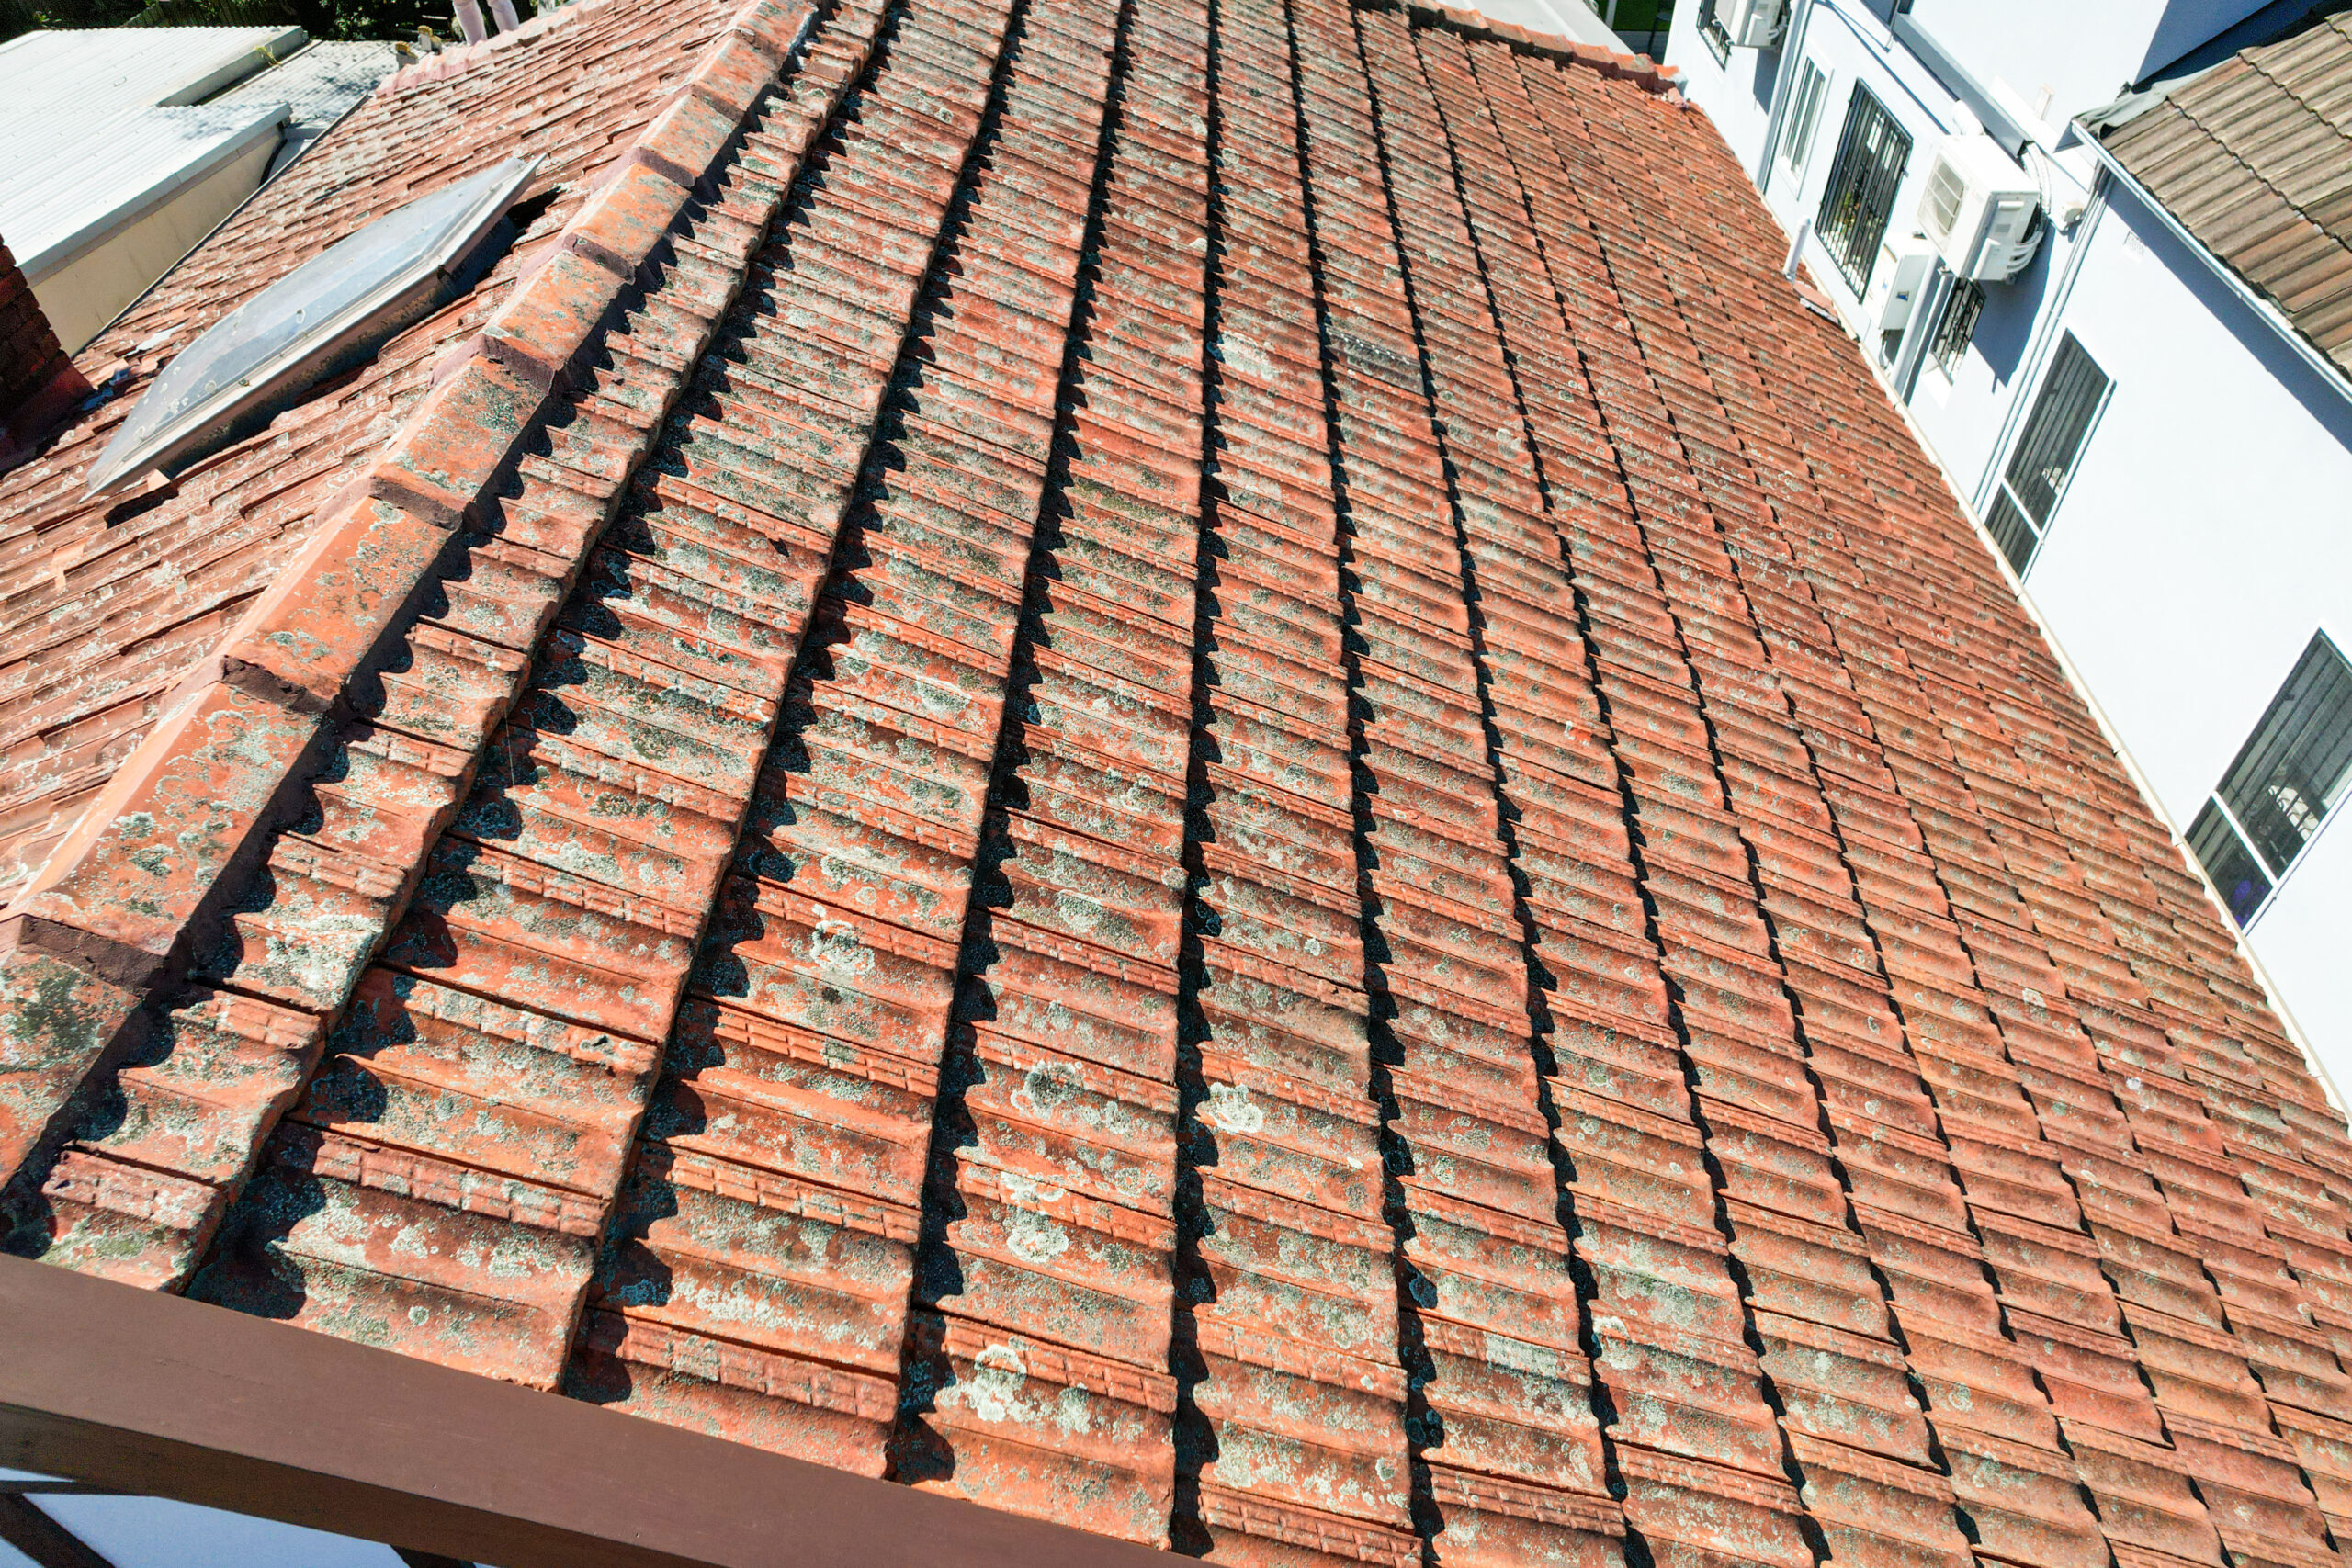
2. Missing or Displaced Roof Tiles
Broken, cracked, or missing tiles are the most obvious sign of storm damage on Sydney homes. Photograph any tiles that appear to have shifted, cracked, or are completely gone. For Colorbond or metal roofs, look for dents, buckled sheets, or loose fasteners.
Pay close attention to ridge capping along the top of the roof. In our experience, it’s often the first thing to dislodge in high winds, and it’s an area insurance assessors tend to review closely when processing residential claims.
📖 People also read about:
3. Flashing Around Joints and Penetrations
Flashing is the metal strip that seals around chimneys, skylights, roof vents, and valleys. Storm damage can cause it to lift or pull away from the surface, creating gaps that allow water to enter. Photograph any sections that look raised, separated, or bent.
This is an area that’s easy to miss from the ground, but it’s worth capturing as best you can. Even minor-looking flashing movement can be the source of significant water ingress into the ceiling cavity.
4. Gutters, Downpipes, and Overflow
Photograph your gutters and downpipes from ground level, looking for sagging, separation from the fascia board, or visible dents. If you can safely clear storm debris from your gutters, do so and take before and after photos. Insurers often want to see that drainage was compromised by the weather event, not simply by a lack of maintenance.
If you’d rather leave the documentation to professionals, Tomkat Roofing’s storm damage roof repair service includes a full photo report structured specifically to support insurance claims.
📖 People also read about:
5. Interior Water Stains and Ceiling Damage
Head inside and check your ceilings and upper walls for new water stains, damp patches, or discolouration. If you have safe access to your roof space, look for daylight coming through the decking or moisture sitting on the insulation batts. Document everything you find, even if it looks minor.
Interior water evidence often carries real weight during the claims assessment, and it can be the detail that confirms a claim rather than complicates it.
💡 Need help?
We offer professional roof inspection sydney to help you achieve your goals.
6. Fallen Branches and Property Debris
Photograph any debris, tree branches, or objects that landed on or near the roof. These shots establish context, showing your insurer that a specific weather event impacted your property. Photos of surrounding damage to fences, gardens, or adjacent structures can add further weight to your claim.
How to Organise Your Photos Before You Call
Before contacting your insurer, sort your images by location: front, back, left side, right side, and interior. Label each set clearly and back everything up to cloud storage so nothing gets lost. A well-organised photo file makes the assessor’s job easier and helps move your claim along faster.
It’s also worth recording a short video walkthrough of your property while narrating what you can see. Videos provide additional context that still photos sometimes miss.
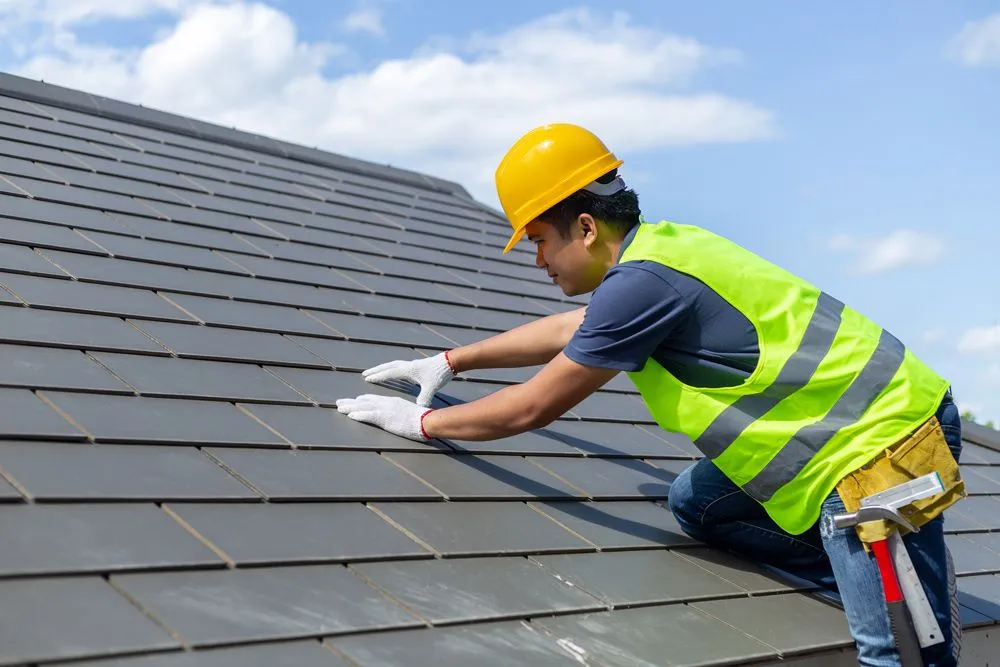
When a Professional Inspection Makes All the Difference
Photos taken by a licensed roofing contractor carry considerably more weight with insurers than homeowner documentation alone. At Tomkat Roofing, we’ve spent over 20 years working on Sydney roofs, including direct experience working alongside Australia’s largest insurance repair builders. We know what assessors are looking for, and our inspection reports are built around that process.
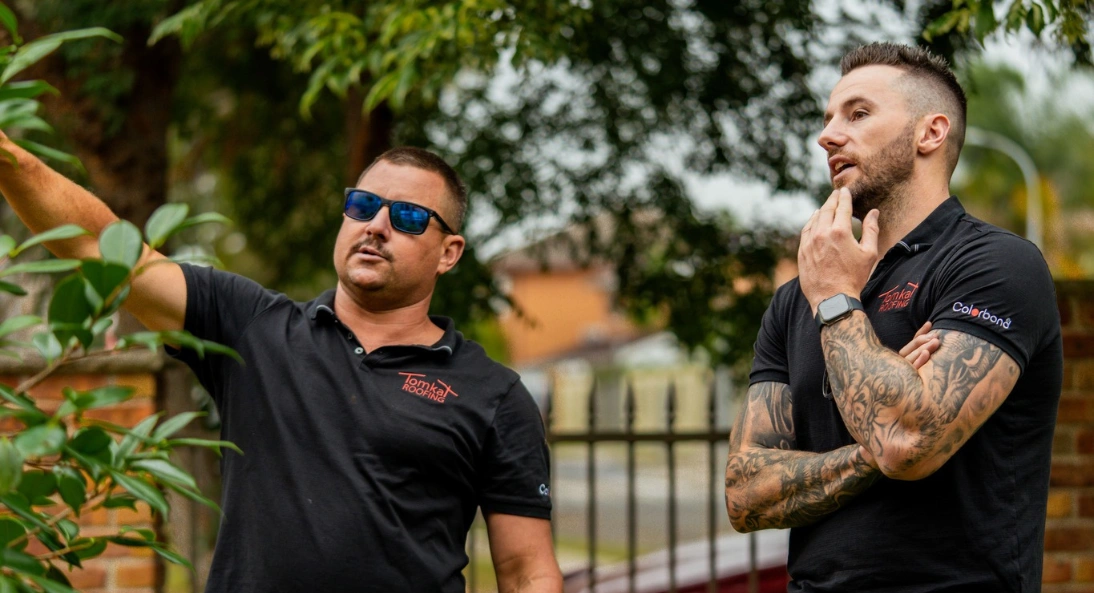
If your home was caught in a recent storm and you’re not sure of the extent of the damage, reach out to our team for a thorough post-storm roof inspection and a clear, fixed-price quote. We serve homeowners across Greater Sydney, including the Eastern Suburbs, Hills District, North Shore, Inner West, and Sutherland Shire.
Act quickly. Unaddressed storm damage tends to worsen over time, and delays can complicate your ability to lodge a successful claim.