Step-by-Step Guide: How To Replace Your Gutters Like A Pro
Are your gutters in need of a replacement?
While it's a task many homeowners consider, the process requires more than just basic tools—it demands precise measurements, correct alignment, and the right slope to ensure water flows away from your home. Gutters play a crucial role in protecting your home from rainwater runoff, so improper installation can lead to serious damage like leaks, foundation issues, and even mould growth.
In this guide, we’ll walk you through the step-by-step process of replacing gutters, along with pro tips that ensure the job is done right. Let's dive into how to replace your gutters and understand what it takes to replace them in Australia!
Why Is Gutter Replacement Important?
Gutter wearout is caused by weather exposure, buildup, and wear and tear. Gutter issues can lead to rainwater pooling near your foundation, weakening the structure, or causing basement leaks. Replacing old or damaged gutters helps maintain your home's structural integrity and prevents expensive repairs.
While some people may feel comfortable with this as a DIY project, having a professional on board can always give better quality and save you the trouble of frequent maintenance checks.
8 Steps To Replace A Gutter
Step 1: Planning And Choosing Materials
Start by deciding on the type of gutter material and design that best suits your home. Gutter systems come in various materials, each offering different benefits and price points. Here’s a breakdown of some materials you will find:
● Aluminium Gutters: Lightweight, rust-resistant, and relatively affordable, aluminium is a popular choice. However, it may dent easily.
● Vinyl Gutters: Cost-effective and easy to install, vinyl gutters work well in mild climates, but may crack under extreme weather.
● Steel Gutters: Known for durability and strength, steel is suitable for harsher weather conditions, but it can rust over time without proper coating.
The cost of gutter replacement in Australia largely depends on the materials you choose and the type of roof you have.
Step 2: Measure Carefully And Plan Slope
Begin by measuring each section of the roofline where the gutter will be installed. When calculating the length of gutters required, account for corners and downspout locations.
The slope, or pitch, of the gutter, is critical for water to drain properly toward the downspouts. Professionals recommend a slope of one-fourth inch for every 10 feet of gutter. Setting the correct slope is essential for the water to flow efficiently and prevent standing water that could lead to rust or leaks.
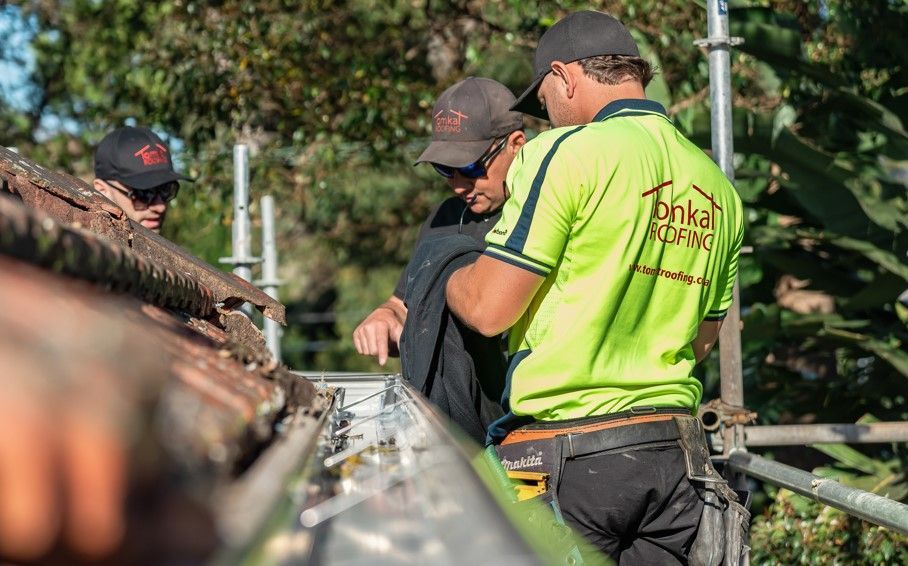
Step 3: Remove Old Gutters
To begin installing new gutters, remove the old ones safely. Start by unscrewing or prying the gutter sections away from the fascia board, taking care to avoid damaging the roofline. If you’re working from a ladder, use a stabiliser and make sure your footing is secure.
Professionals often use scaffolding or harnesses to prevent accidents, as removing gutters can be challenging for those unfamiliar with heights or heavy materials.
Removing gutters might sound straightforward, but without the right tools or safety practices, damage to the fascia or injury can occur. This is where an experienced professional can make the process faster and safer.
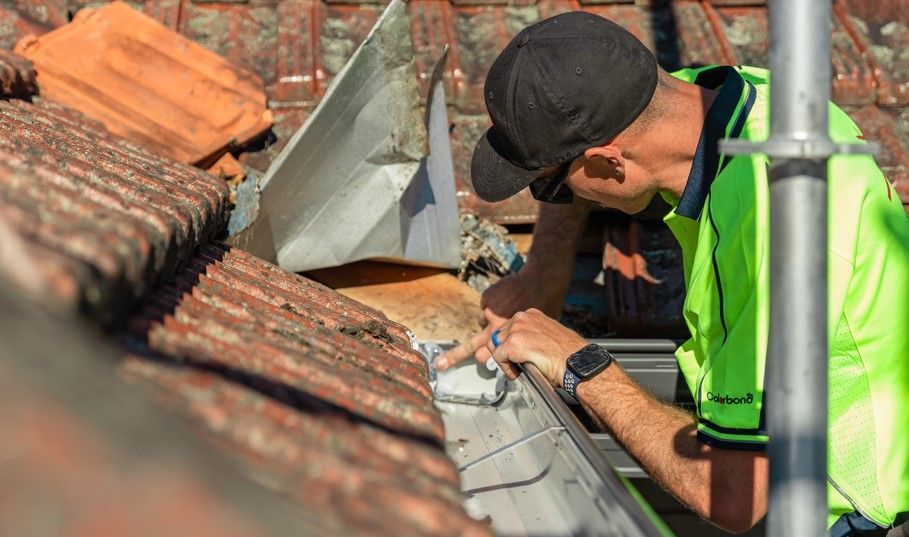
Step 4: Inspect And Repair The Fascia Board
Once old gutters are removed, inspect the fascia board for any damage, rot, or signs of wear. If the fascia board is compromised, it will not hold the new gutters effectively. Replace or reinforce any sections that appear weakened.
Professionals know how to check for these hidden issues, and they are trained to make sure that any damaged areas are addressed before the new installation.
Step 5: Mark The Gutter Slope
Using your measurements, mark the desired slope for the gutter on the fascia board. Begin by marking the high point where the gutter will be closest to the roofline, then gradually slope it toward where the downspout will be positioned.
This step is quite professional, as a gutter system that lacks proper slope can lead to water retention and cause potential leaks. A laser level or chalk line can help mark a precise slope, tools that most professional installers come prepared with.
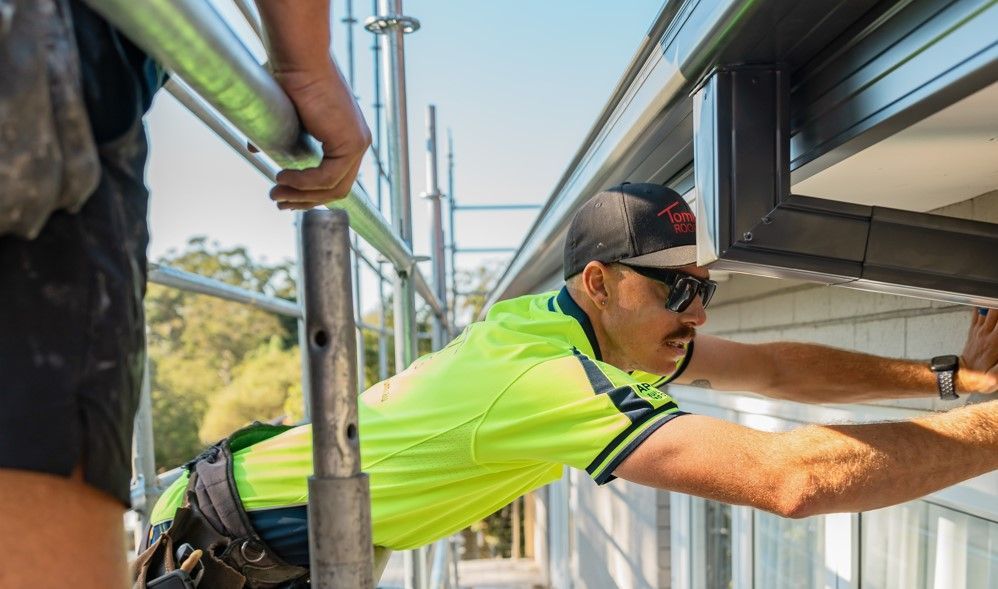
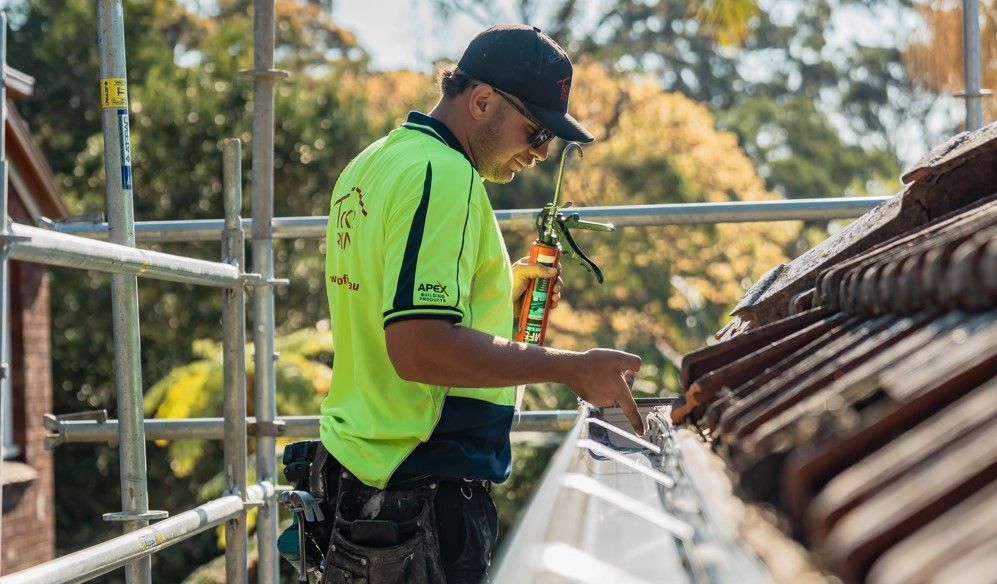
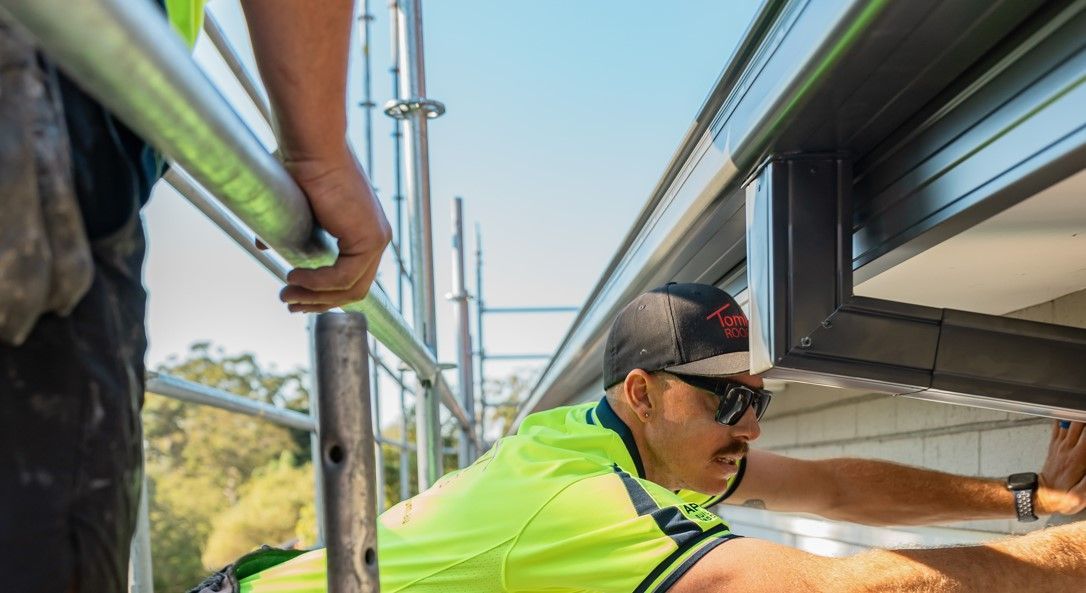
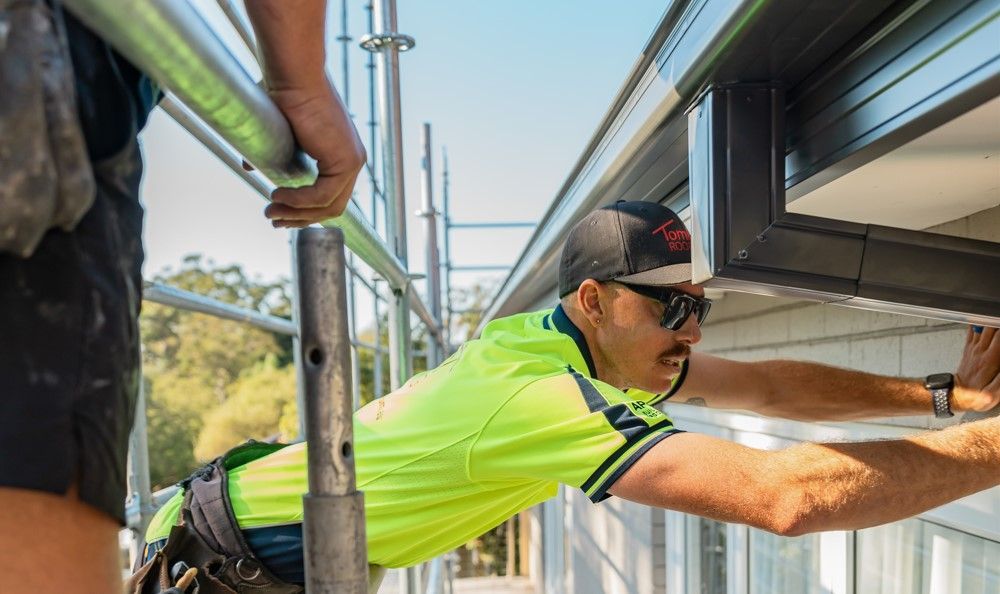
Step 6: Attach The Gutters
Once you’ve marked the slope, it’s time to install the gutters. Start by installing gutter brackets on the fascia at each marked point. Spacing the brackets every two feet will provide stability and prevent sagging. Attach the first section of the gutter securely, making sure it aligns with your slope markings. Continue installing each section along the roofline.
Aligning and securing each section without gaps is a task that requires precision, as even a slight misalignment can affect water flow. Professional installers are adept at positioning gutters with minimal gaps for seamless water flow and reducing future maintenance needs.
Step 7: Secure Downspouts And Elbows
Downspouts and elbows help channel water from the gutters down to the ground and away from your foundation. Determine where you want the downspouts, typically at the end of each gutter run or around high-traffic areas. Attach downspouts with screws or brackets, making sure each section is secure.
Consider adding splash blocks or extensions at the bottom of downspouts to direct water even further away from the foundation. Downspout installation is a point where experience matters, professionals can optimise downspout placement based on the property’s layout, reducing risks of water pooling near the foundation.
Step 8: Test The Gutter System
After installation, pour water into the gutter system to test for proper flow and check for leaks at each joint or bracket. Observe the water flow and make sure that it drains toward the downspouts without pooling. A professional installer usually conducts a full inspection at this stage, testing the system’s functionality and making any necessary adjustments.
Testing may seem minor, but it’s essential to check that your gutter system performs as expected.
DIY Gutter Replacement vs. Professional Services
When it comes to replacing your gutters, you may be considering whether to take on the job yourself or hire a professional. While DIY gutter replacement can save on labour costs, it also requires specific skills, time, and a comfort level with heights.
Handling the project might be manageable for seasoned DIYers, but for those less experienced, the risks involved may outweigh the savings.
1. Expertise And Experience
Professional gutter installers bring extensive experience to the job, along with the right tools and techniques for long-term durability.
● From properly setting the slope to securely fastening downspouts, professionals understand the intricate details of gutter installation, giving optimal performance.
● They’re also adept at identifying underlying problems like fascia board rot, improper roof pitch, or mould growth, which can compromise the effectiveness of new gutters.
This attention to detail often results in a longer-lasting, more reliable gutter system, minimising future repair costs.
2. Efficient And Correct Installation
Precision is key; gutters need to be aligned correctly and angled with the proper slope to direct water flow effectively.
● Professionals are trained to handle these technical details and make sure that water does not pool, which can otherwise lead to overflow and damage.
● In contrast, DIY attempts can sometimes lack the necessary precision, resulting in sagging gutters or improper drainage.
Professional installation also often includes a warranty, offering peace of mind that the system will stand up to harsh weather conditions without needing adjustments.
3. Use Of Quality Materials
Another consideration is the quality of materials.
● Professional gutter installers have access to high-grade materials that may not be available at your local hardware store.
● These materials are better suited to withstand specific weather conditions and last longer, providing you with a more durable gutter system.
● For instance, professionals can recommend materials that resist rust or hold up well against strong winds, factors that vary based on the regional climate.
DIY materials might be less expensive but could end up costing more overtime due to potential replacements or repairs.
4. Time And Cost Efficiency
While DIY gutter replacement might seem like a cost-effective option at first, errors in measurement, alignment, or slope can lead to water damage around the foundation and costly repairs later.
● Additionally, gutter installation can be time-consuming for inexperienced hands, taking several days to complete.
● Professionals can complete the task in a fraction of the time, reducing the exposure of your home to potential water damage.
Although a professionally installed system may have a higher upfront cost, the expertise, time saved, and potential reduction in maintenance costs make it a smart investment.
The Finish Line: How Your New Gutters Will Protect Your Home
Replacing gutters is essential for home protection, directing rainwater away from the foundation and preventing costly damage. While the process can be DIY-friendly for those with experience, hiring a professional increases precision and reduces the risks of leaks or misalignment.
However, the key is choosing quality materials, securing the proper slope, and testing the system. If you work this way, you can extend your gutter system’s lifespan and protect your home investment.
Ready for an efficient and cost-effective gutter replacement? Contact Tomkat Roofing today and let our expert installation team handle the job for you!