How to Repair Roof Leaks: Step-by-Step Guide
Have you been dealing with a leaky roof but have no idea how to fix it? Roof leaks can cause severe issues, from damaging your home’s structural integrity to creating a conducive environment for mould growth.
Not only are they bad for the well-being of your house, but they can also be twice as bad for your health. A leaking roof can lead to countless health issues, from respiratory disorders to allergic reactions. Luckily, there is no cause for worry!
In this thorough blog, we go the extra mile by teaching you how to diagnose and fix a roof leak with straightforward steps, ensuring you can tackle minor roof repairs safely and effectively.
So, let’s get started!
Diagnosing Your Leaking Roof
Accurately diagnosing a roof leak is a critical first step in effective repair. When the leak’s exact source is unidentified, attempts to fix the issue can result in temporary solutions that only mask the underlying problem.
This leads to recurring leaks and potentially worsening the damage over time. Misdiagnosed leaks often mean multiple repairs, which can waste both time and money and even increase the risk of additional interior or structural damage.
Pinpointing the leak’s origin allows you to tackle the root cause directly, ensuring that repairs are more effective and lasting. It also reduces the likelihood of needing repeated fixes, as addressing the true source of the problem can help prevent water from seeping into new or unexpected areas of your home.
1. Conducting a Thorough Exterior Inspection
Start your inspection by examining the outside of your home for any visible signs of roof damage. Walk around the perimeter to look for clues that might indicate a leak, such as:
● Missing tiles: Gaps in the roofing material expose the underlayment to moisture.
● Damaged valleys or ridges: These areas are prone to wear and tear as they channel water off the roof.
● Loose or damaged flashing: Flashing is often needed to keep areas around chimneys, vents, and skylights waterproof.
● Water stains or damp spots: Check near gutters, dormer windows, and eaves, as water may collect in these areas.
Remember that even minor storm damage can go unnoticed if you’re not thorough, so take your time during this inspection to prevent overlooking any potential issues.
2. Inspecting the Interior for Signs of Leaks
Next, head indoors to inspect ceilings and walls for water damage. Look closely for any telltale signs of a roof leak, such as:
● Discoloured patches or stains: Brown or yellow spots on the ceiling suggest water seepage.
● Peeling paint or wallpaper: Moisture trapped behind walls or ceilings can cause paint and wallpaper to lift or bubble.
● Damp areas around chimneys or skylights: Leaks often appear near roof penetrations, so pay close attention to these spots.
Examine each area closely using a flashlight, especially in dimly lit spaces. Musty odours may also indicate potential mould growth due to excess moisture, which should be addressed promptly.
3. Team Up for Accurate Leak Detection
Since identifying the exact leak location can be tricky, enlist a helper to assist with the process. One person can remain inside, tracking water entry points, while the other examines the roof. Stay in contact via mobile phone to ensure efficient communication and coordinated observations.
With this approach, you’ll be better prepared to diagnose and address roof leaks, helping to maintain your home’s structure and avoid costly future repairs.
How to Fix a Leaking Roof?
Roof leaks can cause significant damage if left unaddressed, so prompt repair is essential to protect your home’s structure. Here’s a step-by-step guide on how to tackle two different types of leaking roofs:
Fixing a Metal Roof Leak
Metal roofs are celebrated for their strength and long lifespan, but even these durable materials can develop leaks over time due to wear, weather conditions, or improper installation. You can repair a metal roof leak with careful attention and the right materials to restore its integrity.
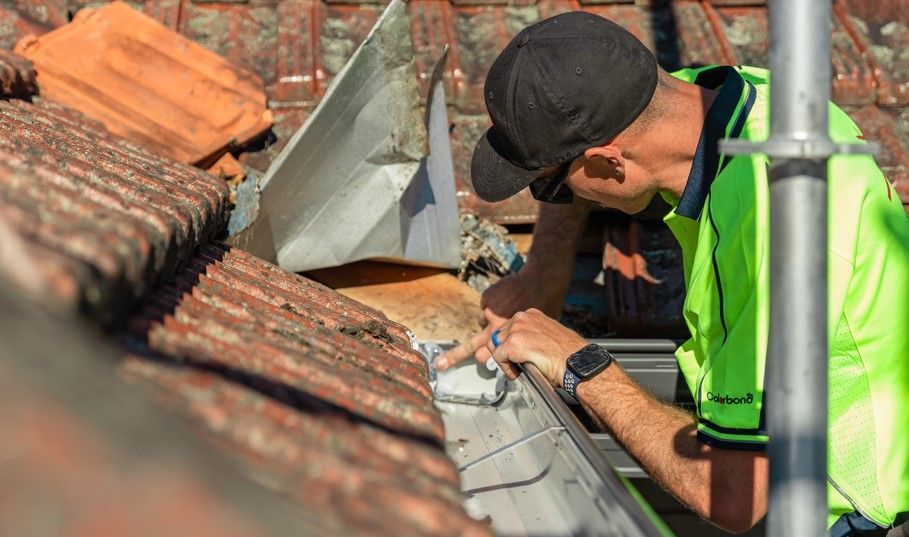
Step 1 — Clean the Leak Area
Start by locating the leak’s source and clearing away any debris, dirt, or rust that may surround the affected area. Wash the area with a mild cleaner and water, then allow it to dry completely.
Use a wire brush to get the best results. This will roughen the metal around the leak and help the sealant adhere better to the metal surface. A clean, prepared surface ensures the patch stays securely in place.
Step 2 — Cut a Metal Patch
Measure the size of the leak and then cut a piece of replacement metal slightly larger than the damaged area. This patch should cover the leak completely and extend at least one to two inches beyond it on all sides to ensure a secure, watertight bond. Use tin snips or metal shears to cut the patch, and double-check the fit before proceeding to the next step.
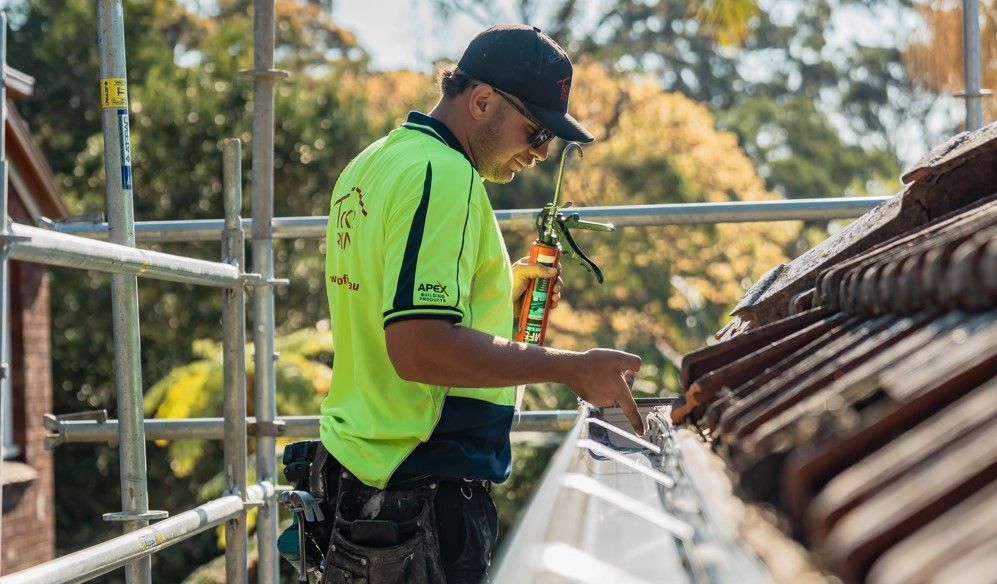
Step 3 — Apply Sealant and Attach the Patch
Select a sealant designed specifically for metal roofing to prevent corrosion and ensure durability. Apply the sealant around the leak, covering the area where you will place the patch.
Carefully press the metal patch into the sealant, ensuring it adheres firmly. Use self-tapping screws to secure the patch, spacing the screws evenly around the perimeter. Be cautious not to over-tighten the screws, as excessive pressure can deform the metal and compromise the seal.
Step 4 — Smooth and Finish the Sealant
With the patch secured, smooth any excess sealant around its edges to create a flush, watertight finish. A smooth sealant layer also helps reduce the risk of corrosion and provides additional stability to the repair. Allow the sealant to cure fully according to the product’s instructions before exposing the area to rain or other weather conditions.
Repairing a Flat Roof Leak
Flat roofs are more prone to leaks than sloped roofs because water and debris can easily accumulate on their low slope, leading to potential damage. Here are some effective methods for a roof leak repair on flat roofing:
Step 1 — Clean the Area
To create a clean work area, begin by clearing any debris, leaves, or dirt around the leak. This ensures the repair materials can adhere properly and helps you see the full extent of the damage.
Use a mild detergent and water to clean the area thoroughly, remove any dust or residue, and allow it to dry completely. Proper cleaning is essential for a strong, lasting bond when you apply the roofing cement and patch.
Step 2 — Apply Roofing Cement
Spread a layer of roofing cement directly over the damaged area using a putty knife. Roofing cement acts as a sealant, filling small cracks and holes and helping to prevent water from entering the roof’s layers. Be sure to apply the cement evenly, smoothing it out to cover the area fully. Apply the cement slightly beyond the damaged area for the best results and to create a strong, continuous seal.
Step 3 — Add a Membrane Patch
If the leak is larger or if the roof material is damaged, it’s best to reinforce the repair with a roofing membrane patch. Cut a piece of membrane slightly larger than the damaged area, typically extending one to two inches beyond it on all sides. Apply adhesive to the underside of the patch, then press it down firmly over the roofing cement.
Step 4 — Smooth and Check for Seal
After securing the membrane patch, smooth any excess roofing cement around its edges with the putty knife. This extra step helps create a watertight barrier, preventing water from seeping under the patch.
Check the patch edges to ensure they’re fully adhered to and that the cement is evenly spread. Once complete, allow the repair to cure fully according to the cement and adhesive instructions before exposing it to rain or other weather elements.
Preventing Future Roof Leaks
1. Regular Roof Inspections
Scheduling annual roof inspections helps identify potential issues before they lead to leaks. Most roofing contractors recommend checking for loose flashing and clogged gutters.
2. Maintain Gutters and Downspouts
Clogged gutters lead to roof leaks. Make it a priority to clean them regularly for proper drainage.
3. Trim Overhanging Branches
Overhanging branches can severely damage your roof during a storm, so trimming them keeps your home safe.
Common Roof Leak Repair Mistakes to Avoid
1. Ignoring Small Leaks
If ignored, minor leaks can escalate into major issues. Always address small leaks promptly to avoid expensive repairs later.
2. Using Inappropriate Repair Materials
Different roofing materials require specific types of sealants, patches, and adhesives. Using the wrong material can worsen the leak or even void your roof warranty.
3. Overlooking Safety Precautions
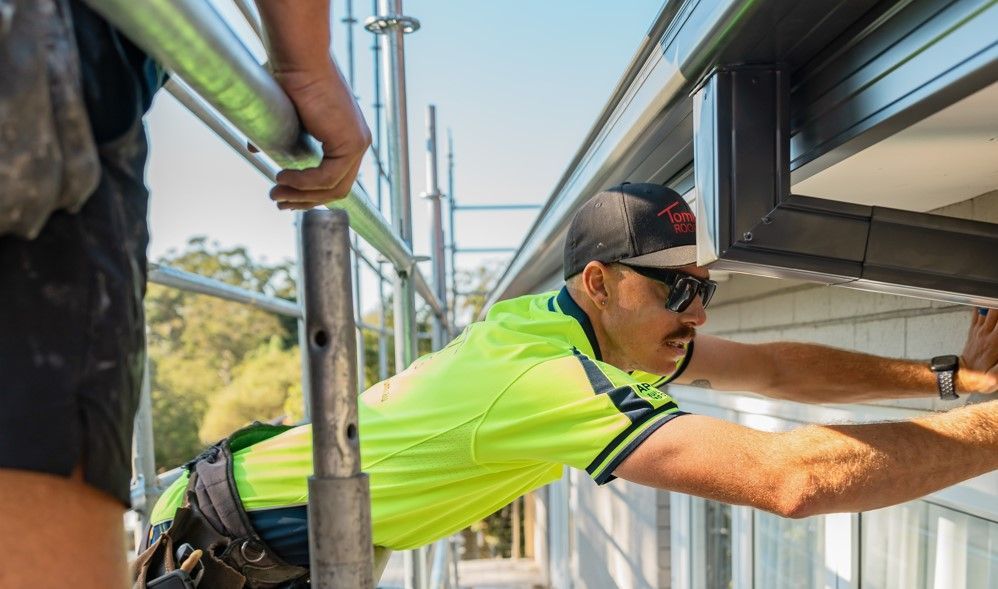
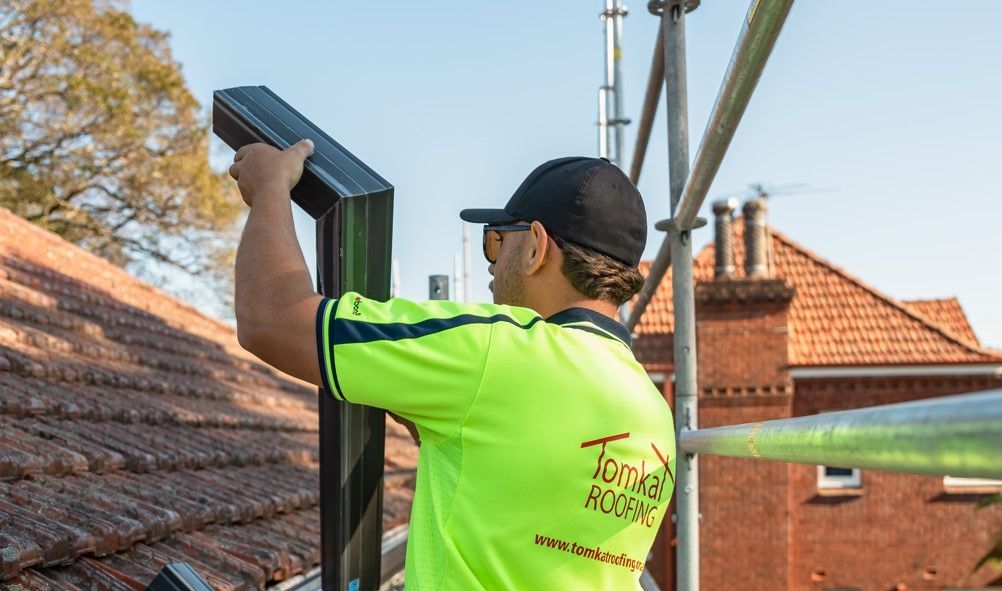
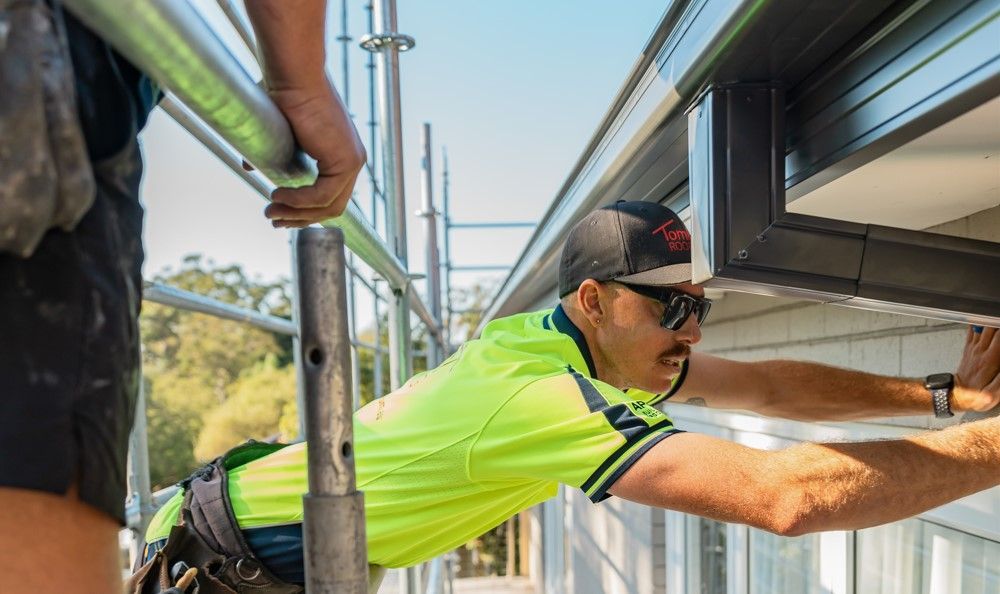
These repairs require proper safety gear, including a harness, sturdy footwear, and fall protection. Call a professional from Tomkat Roofing for roof repairs during rainy or windy weather in the case of an emergency instead of risking your life.
When to Call a Professional from Tomkat Roofing To Repair A Roof Leak
1. If You Can’t Locate the Leak
Leaks can sometimes be tricky to find. If you can’t pinpoint the exact location of your roof leak, consult a professional roofer.
2. Extensive Water Damage
A professional inspection is recommended if your home has suffered extensive water damage.
3. Lack of Proper Equipment
Tackling roof repairs alone can be hazardous without the right tools or safety gear. Tomkat Roofing professionals have the equipment needed to perform repairs safely and effectively.
Tackling Roof Leaks Effectively
Repairing a roof leak can be manageable if you follow the steps and precautions outlined in this blog. However, remember that roof maintenance and regular inspections are key to preventing future leaks. When in doubt, it’s always wise to contact Tomkat Roofing and hire a professional roofing company for a comprehensive inspection and repair.
Protecting your roof means protecting your entire home from potential water damage, so promptly address any signs of leaking!