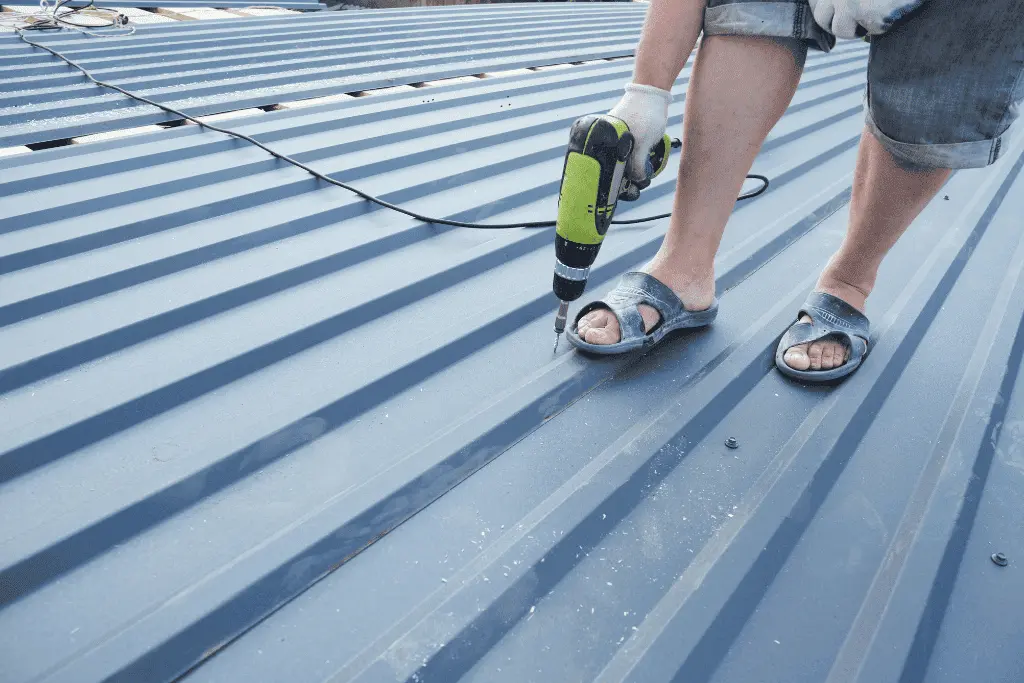
Installing vent pipe flashing on an existing metal roof is achievable for most skilled DIY homeowners, but you must follow the right steps to avoid leaks. The process involves fitting a flexible boot over the vent pipe, creating a watertight seal, and fastening it securely to the roof surface. When done correctly, you can stop water from tracking into your roof cavity and maintain proper airflow in your home. If you are unsure about working at heights or handling roofing screws, a licensed roofing specialist is the safest choice.
Why Proper Vent Pipe Flashing Matters
Vent pipes penetrate the roof surface, creating a natural path for water to enter. Flashing acts as a protective shield, diverting rainwater away from the opening. Sydney homes often face heavy rain and occasional storms, so reliable flashing helps prevent moisture damage, mould, and roof timber decay.
Tools And Materials You Will Need
Before starting the installation, gather the following items:
- Rubber or silicone vent boot suitable for metal roofs
- Metal snips
- Roofing screws with neoprene washers
- High-quality roofing sealant
- Tape measure
- Marker
- Drill with screw-driving bit
- Cleaning cloth
Choosing a vent boot specifically designed for metal roofing is important because it features a flexible base that sits neatly over corrugated or ribbed profiles.
Step 1: Measure The Vent Pipe
Measure the diameter of your vent pipe carefully. Vent boots come in various sizes and must fit snugly around the pipe. A boot that is too loose will not seal properly, while one that is too tight may tear. Always check the manufacturer’s sizing chart to confirm the correct option.
Step 2: Prepare The Vent Boot
Most vent boots have a series of marked rings. Use your snips to cut along the ring that matches your measurement. Cut slowly to avoid jagged edges. Once cut, slide the boot over the pipe to confirm it fits firmly. You want a tight seal without forcing the boot excessively.
Step 3: Clean The Metal Roof Surface
Dirt, leaves, and old sealant can prevent the flashing from bonding correctly. Wipe the roof surface clean around the vent pipe. A smooth area ensures the flashing can sit flush and hold firmly when screwed down.
Step 4: Position The Flashing
Gently pull the boot up the pipe until the metal base sits flat on the roof. Ensure the upper edge of the base sits under the course of the metal roofing above it, while the lower edge rests on top of the next sheet. This overlapping style helps guide rainwater downward instead of trapping it around the penetration.
Adjust the boot so it sits evenly without wrinkles or raised edges. Misalignment may lead to leaks during heavy rain.
Step 5: Apply Roofing Sealant
Apply a generous bead of sealant under the metal base of the flashing. Press the flashing into place firmly so the sealant spreads evenly. Roofing sealant provides an added barrier to stop water from creeping under the flashing.
Step 6: Secure With Roofing Screws
Use roofing screws with neoprene washers to fasten the flashing to the metal roof. Place screws around the perimeter of the boot, evenly spaced. Tighten each screw until the washer compresses slightly. Do not over-tighten, as this can damage the washer and weaken the seal.
Step 7: Seal Around The Pipe
Apply additional sealant around the top of the boot where it meets the pipe. Smooth the sealant for a neat finish. This step ensures water cannot track down the pipe and sneak inside.
Step 8: Inspect Your Work
Once everything is secured, look for any gaps or lifted edges. Run a light hose test if possible, to check for leaks. If water appears under the roof sheet or around the pipe, reapply sealant where necessary.
Common Mistakes To Avoid
- Cutting the vent boot too large
- Using incorrect screws
- Installing flashing on top of debris
- Misaligning the top edge of the base
- Forgetting to seal the inner edge around the pipe
These mistakes can cause leaks that may go unnoticed until significant damage occurs.
When To Call A Professional
Working on a metal roof requires caution. If your roof has a steep pitch, rusting sheets, or hard-to-reach areas, professional help is recommended. Skilled roofing technicians can fit flashing quickly, apply proper sealing methods, and guarantee a long-lasting finish.
The Way Forward
For assessments, repairs, or advice on keeping your metal roof watertight, the friendly team at Tomkat Roofing is ready to help.
📖 People also read about:
Contact Tomkat Roofing today for professional vent pipe flashing installation and protect your home from future leaks.
Frequently Asked Questions
What size vent boot should I use?
Choose a vent boot that matches the outer diameter of your pipe. Manufacturers list size ranges, so always measure carefully before buying.
Can I install flashing on a wet roof?
No. The area must be dry to ensure the sealant bonds correctly.
How long does flashing last?
High-quality silicone boots can last many years when installed properly, especially if the surrounding roofing is well-maintained.
Do I need to replace the old flashing first?
Yes. Old, cracked, or warped flashing must be removed to avoid leaks. New flashing should always sit on a clean surface.
Can this be a DIY job?
Yes, if you are comfortable with basic tools and working at height. If not, it is safer to hire a licensed professional.