Keeping gutters clean is essential for any Sydney home, and many homeowners ask how to install a gutter guard on a tiled roof. The process involves lifting the bottom row of tiles, attaching the mesh securely to the gutter edge, and fixing it under the first row of tiles to create a firm barrier that stops leaves and debris from falling in. When done correctly, this setup reduces maintenance and improves water flow all year round.
If you are planning to add a gutter guard, it helps to understand the right method, the tools required, and the common mistakes to avoid. Below is a clear guide tailored for tiled roofs found across Australia.
Why Install Gutter Guards On a Tiled Roof?
Sydney homes often sit close to gum trees and other shedding species, which means gutters fill up quickly. Gutter guards help by:
- Preventing blockages from leaves and twigs
- Reducing the risk of water overflow into the roof cavity
- Cutting back on frequent cleaning
- Helping to discourage pests like birds and possums
- Supporting overall roof and gutter performance during heavy rain
For homeowners in bushfire-prone zones, metal gutter mesh can also assist by reducing fuel build-up near the roofline.
Tools And Materials You Will Need
To install gutter guard on a tiled roof, prepare the following:
- Gutter mesh (aluminium or steel is preferred for durability)
- Fixing saddles or clips suitable for your tile profile
- Screws and a driver
- Tin snips
- Ladder
- Gloves and protective eyewear
- Roof safety gear (harness, anchor point, rope)
Working on a roof carries safety risks, so using the correct gear is essential.
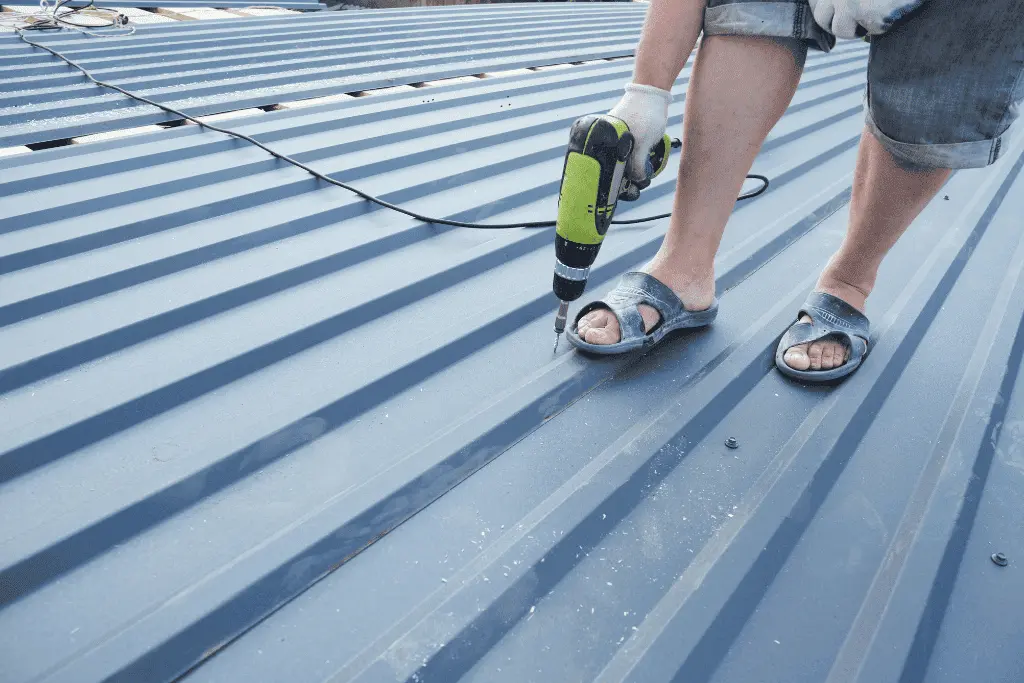
Step-By-Step Guide To Installing Gutter Guard On a Tiled Roof
1. Inspect the Gutters and Tiles
Before starting, check that your gutters are clean and undamaged. Clear out leaves, mud, and old debris. Inspect tiles near the gutter edge for cracks and loose sections. Fixing these issues early ensures proper mesh installation.
2. Measure and Cut the Mesh
Measure each gutter section and cut your mesh panels accordingly. Leave a little extra length so the mesh can sit neatly under the tiles without leaving gaps. Use tin snips for clean edges.
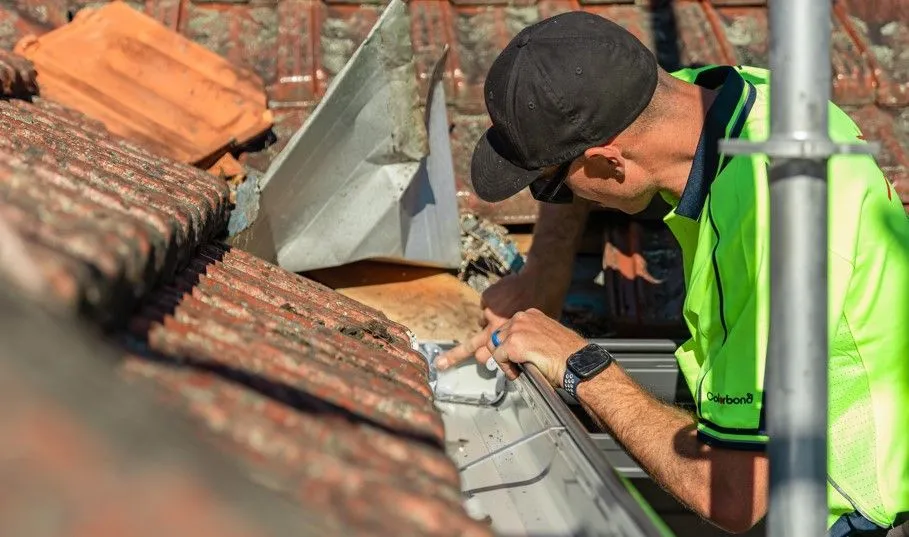
3. Lift the First Row of Tiles
Carefully lift the lower edge of the first row of tiles. They usually rest on battens, so they can be raised slightly without removing them entirely. Take care not to lift too far, as tiles may crack under too much pressure.
4. Position the Mesh Into Place
Slide the top edge of the mesh under the lifted tiles. The mesh should sit flat against the roofline and curve gently into the gutter. Make sure it creates a smooth, continuous surface that allows leaves to slide off.
5. Attach the Mesh to the Gutter
Use screws and clips to secure the mesh along the outer gutter lip. Fixing points should be spaced evenly to keep the mesh firm during strong winds and storms.
6. Secure the Mesh Under the Tiles
Gently lay the tiles back into position over the mesh. The tile weight will hold the top edge in place. Ensure there are no bulges or lifted areas where debris can catch.
7. Check for Gaps
Walk along the roof edge and check for openings that might let leaves or pests through. Adjust the mesh or add additional clips where needed.
8. Test Water Flow
Spray water onto the mesh with a hose to ensure smooth drainage into the gutters. Good mesh should allow water through while pushing leaves away.
Common Mistakes To Avoid
- Cutting the mesh too short, leaving gaps
- Failing to lift tiles with care
- Using low-quality plastic mesh that breaks down in the sun
- Securing the mesh too loosely
- Ignoring cracked or damaged gutters before installation
Avoiding these mistakes will give your gutter guard a longer lifespan and better performance.
When To Call a Professional
Installing gutter guard on a tiled roof can be physically demanding and unsafe for those unfamiliar with roof work. Professional roofers ensure correct fitting, proper safety practices, and long-term reliability.
📖 People also read about:
If you want a hassle-free install, you can reach out to the team at TomKat Roofing for expert service and advice.
The Way Forward
If you are considering gutter guard installation in Sydney, the specialists at TomKat Roofing can recommend the best materials and methods.
Need gutter guards installed properly for the first time? Call TomKat Roofing today for a full inspection and professional installation.
FAQs
1. Can gutter guards be fitted to all tiled roofs?
Yes. Most tiled roofs, including concrete and terracotta profiles, can support gutter guard systems. The mesh is fixed under the first row of tiles, which makes it suitable for a wide range of roof designs.
2. Do gutter guards stop all debris?
Gutter guards stop large debris like gum leaves and twigs. Small dust and fine particles may still enter, but they usually wash away with rainfall.
3. How long does gutter mesh last?
Quality metal mesh typically lasts more than 15 years. Cheaper plastic mesh often breaks down much sooner in the Australian climate.
4. Will installing gutter guard damage my tiles?
Not if handled correctly. Lifting tiles gently and using proper fixing clips ensures no damage occurs.
5. Do gutter guards reduce fire risk?
Metal gutter guards can help by preventing leaf buildup. In high-risk bushfire areas, many homeowners choose metal mesh for added protection.